选择语言:
首页
爱体育(China)官方网站
新闻资讯
工程应用
客服中心
人才中心
联系我们
菜单
关于
黄华
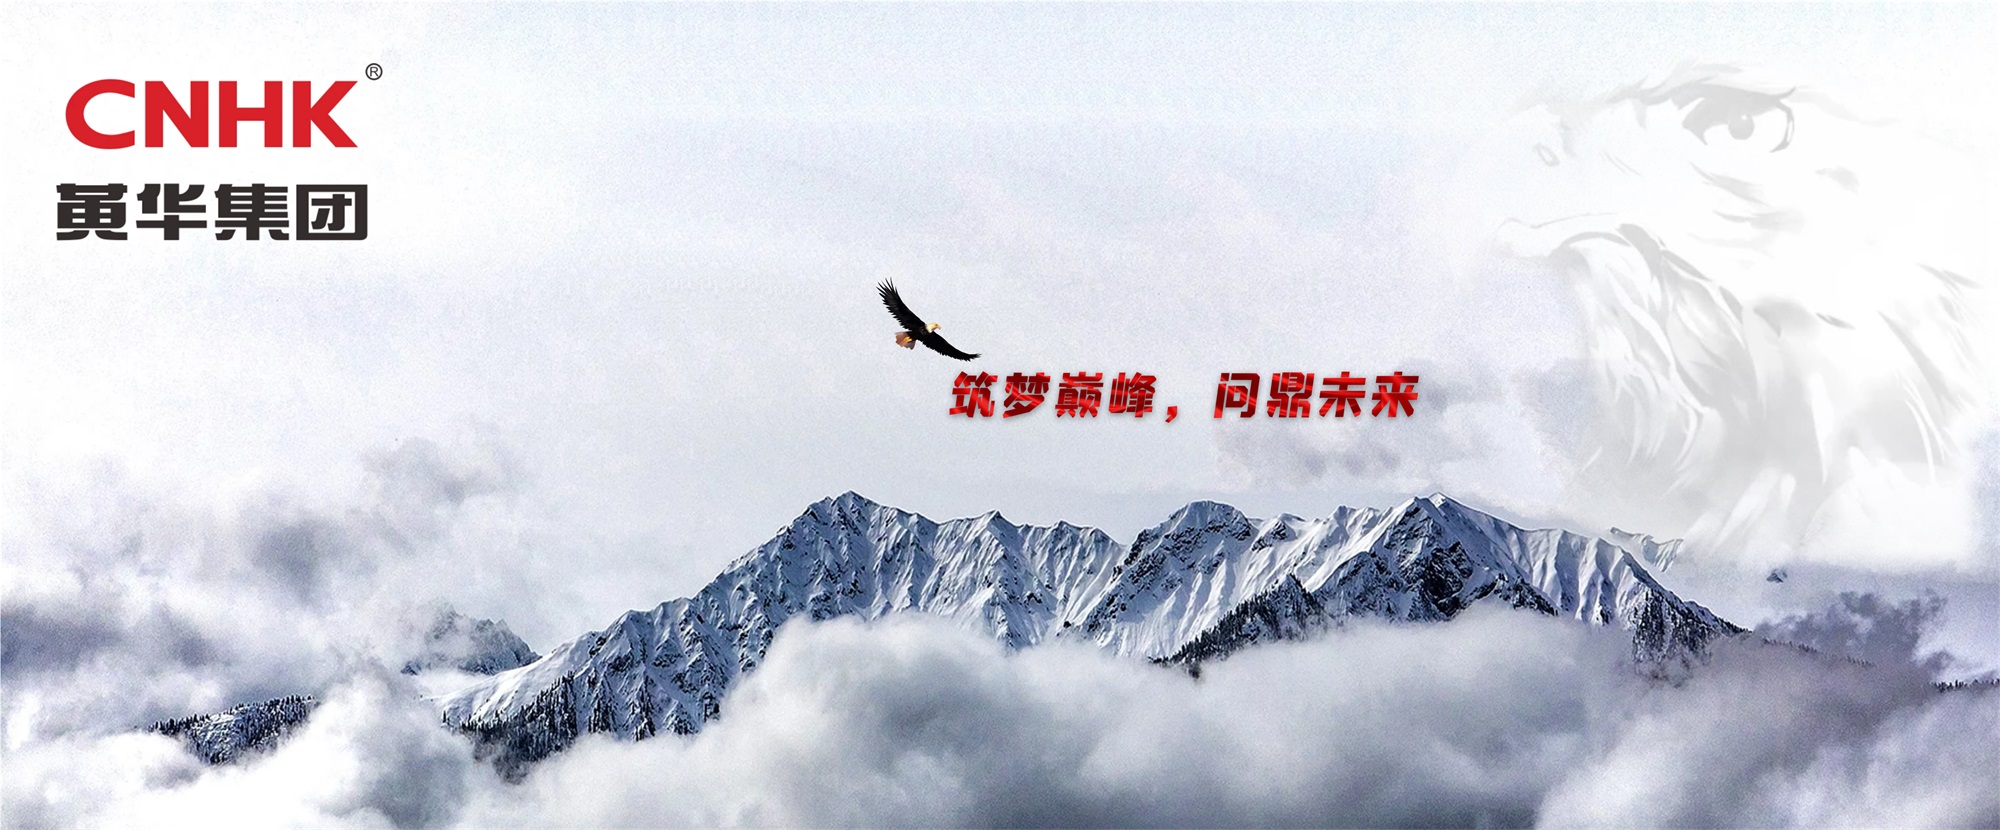
风雨四十周年,
科学与创新
全国统一热线:
400-666-0005
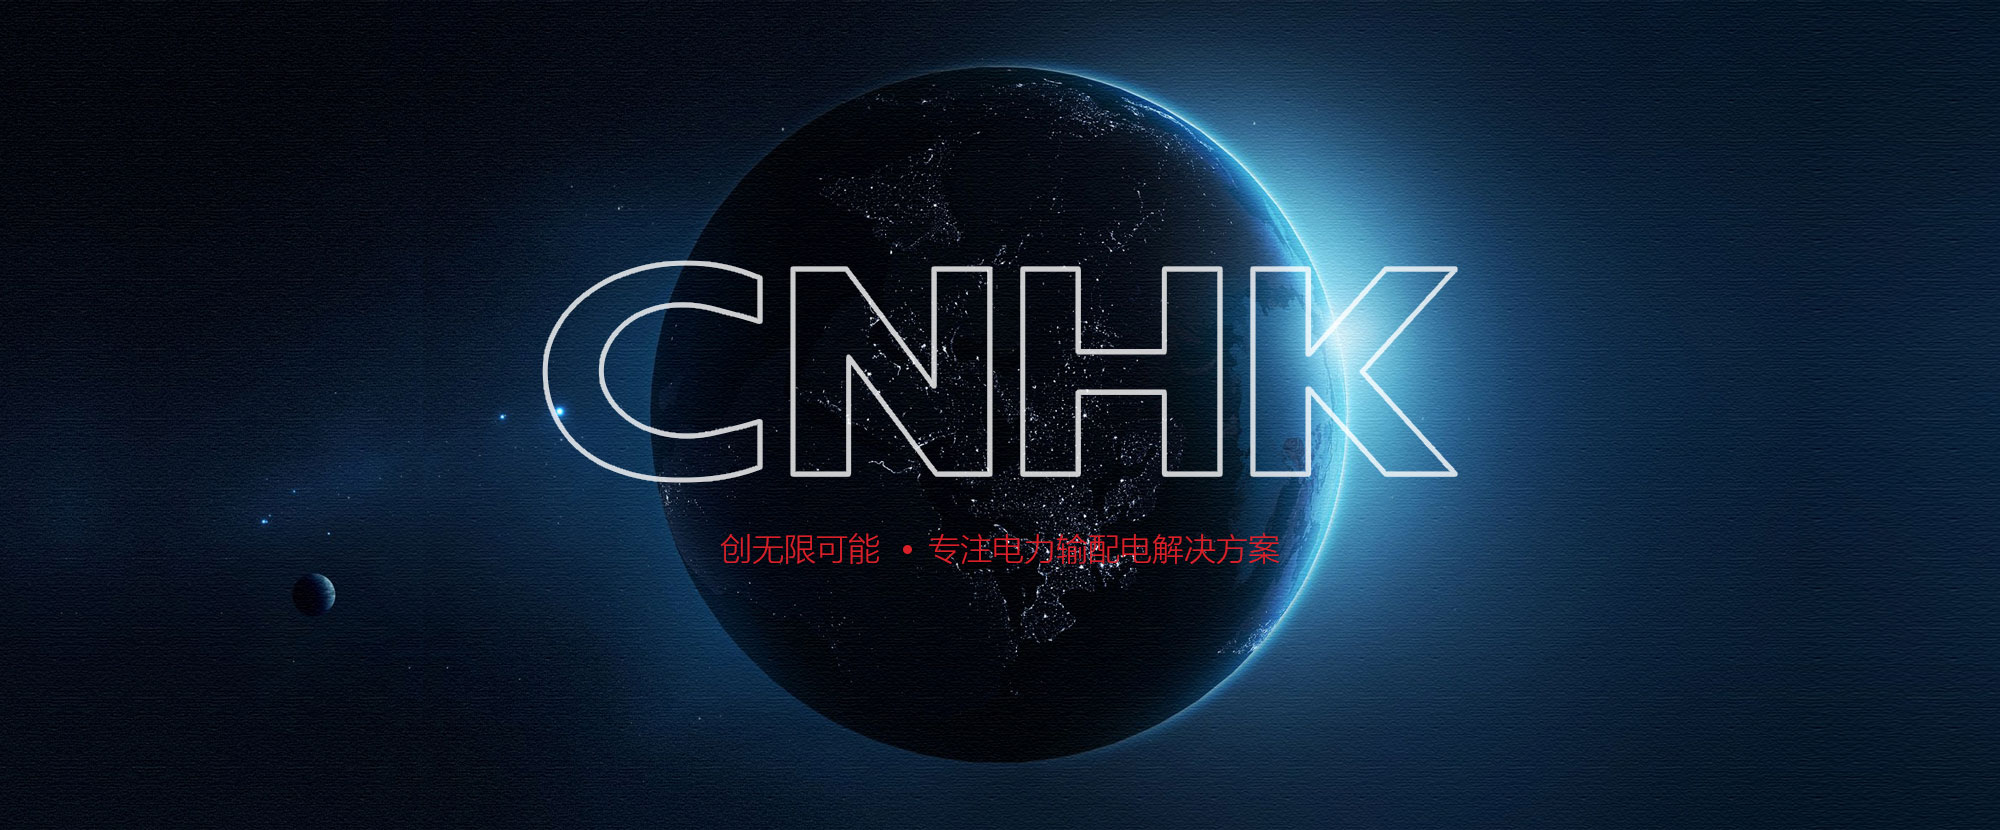
爱体育(China)官方网站
Group industry
35kV产品线
35kV产品线
view
24kV产品线
24kV产品线
view
10kV产品线
10kV产品线
view
6kV产品线
6kV产品线
view
0.4kV产品线
0.4kV产品线
view
…
黄华,始创于1980年
专业致力于高低压、输配电、电力设备制造
我们因钻而专 因专而精
了解更多
品牌
故事
新闻资讯
News information
10
03-10
2021-03
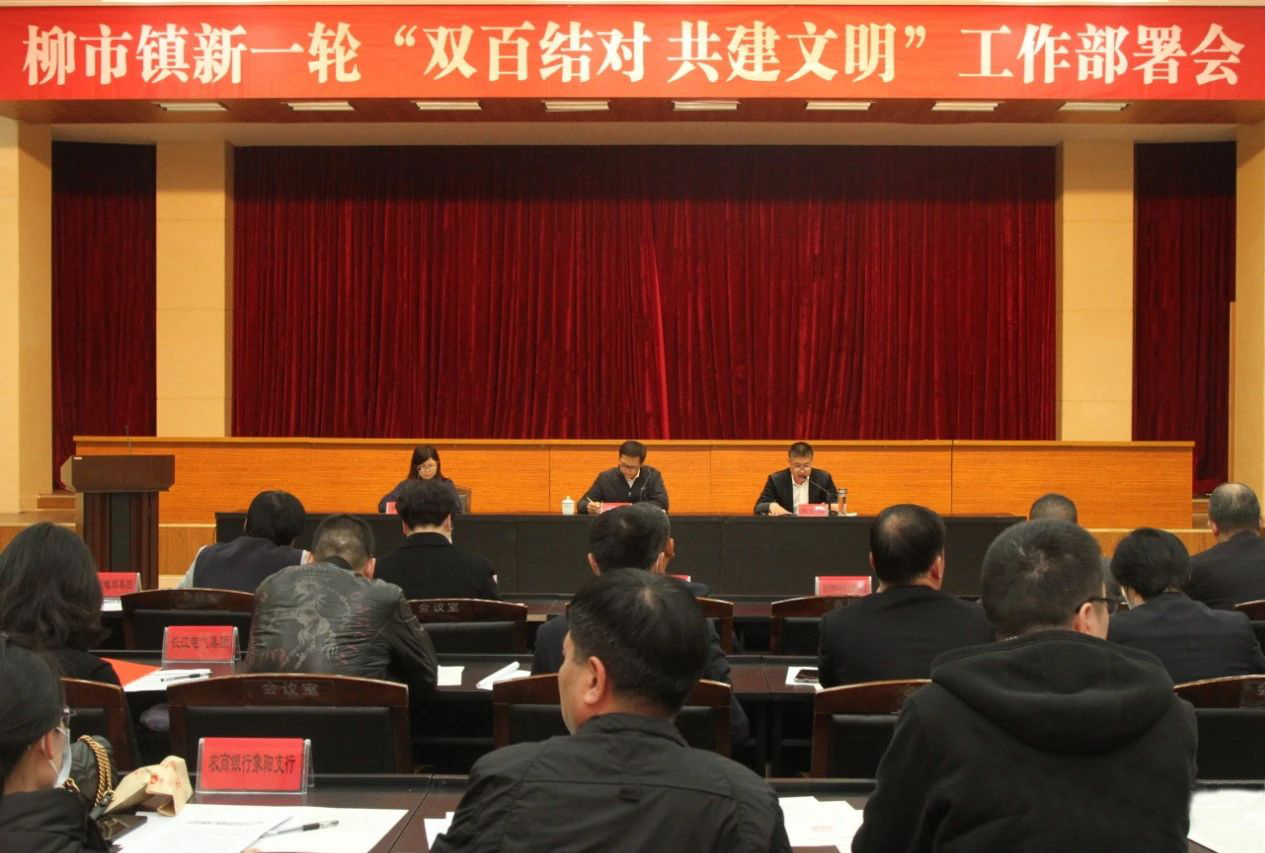
双百结对 共建文明 黄华集团与黄华村签订合作协议
2021年3月4日下午,柳市镇召开新一轮双百结对共建文明工作部署会。51个机关单位、企业与51个结对村代表参加会议。黄华集团与黄
04
11-04
2020-11
2019海峡两岸能源合作平台第一届年会(论坛)
史上第一次有这么多,来自全国20多个省(市)的电力工程总包、安装、施工和服务企业老总聚集“中国电器之都”
乐清市副市长郑巨化等领导,莅临黄华集团调研指导。
2021-08-26
8月17日下午,乐清市政府副市长郑巨化等领导莅临公司进行调研指导工作,公司董事长陈福梯、常务副总洪见晓等人热情接待。
浙江省退役军人事务厅郭厅长一行人莅临黄华集团做调研。
2021-08-05
8月3日上午浙江省退役军人事务厅党组成员、副厅长郭国松一行来到爱体育(China)官方网站,调研非公企业退役军人服务、退役军人创业历程站等情况。
继"柳市四中"后,黄华集团又一个"百万教育基金"设立!
2021-06-12
热烈庆祝柳市九小“黄华集团教育基金”成立!
客户服务
customer service
各系列产品先后通过“CCC”认证,ISO9001-2000质量管理体系认证
长期致力于电气产品的智能化发展,致力于为广大客户提供更完美的高、低压电气产品。
售后服务
营销网络
技术服务
下载中心
在线留言
联系我们
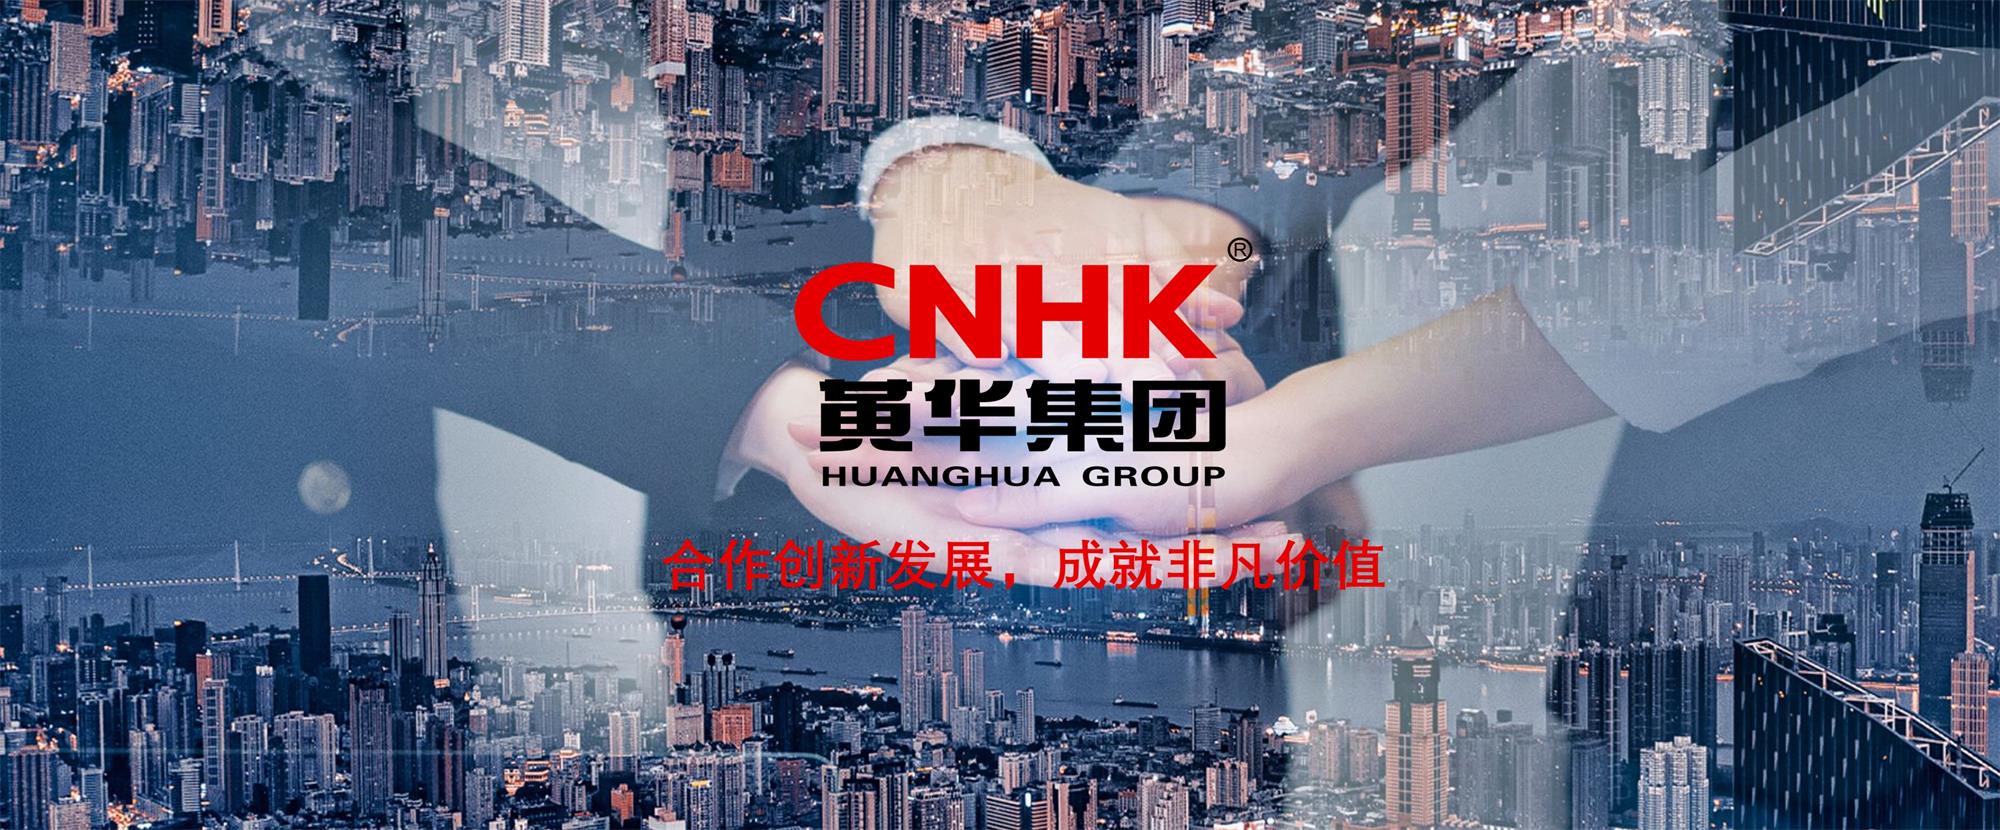
技术与合作
产业
新闻
客服
人才
联系
关于黄华
·集团简介
·企业文化
·发展历程
·组织机构
·资质荣誉
爱体育(China)官方网站
· 35kV产品线
· 24kV产品线
· 10kV产品线
· 6kV产品线
· 0.4kV产品线
新闻资讯
· 集团新闻
· 行业动态
· 员工活动
工程应用
· 煤矿开采
· 石油化工
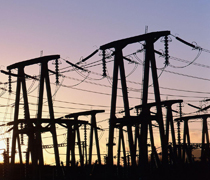
· 电力传输
· 交通运输
...
客服中心
· 售后服务
· 营销网络
· 技术服务
· 下载中心
· 在线留言
人才中心
· 人才理念
· 招聘职位
隐私政策
|
法律条款
|
联系我们
|
全国统一热线:400-666-0005
© 2017 爱体育(China)官方网站,All Rights Reserved 版权所有
浙ICP备20012803号
width
博乐体育(中国)有限责任公司
|
bsport体育·(中国)在线官网
|
365电子游戏(中国)股份有限公司
|
买球赛的app排行榜-手机上买球app十佳排行榜2024
|
云开体育(中国)有限责任公司-官网
|
完美电竞平台(中国)官方网站
|
亚投国际「中国」有限公司
|
kok·综合体育(中国)官方网站
|
开云官方网站-开云kaiyun(中国)
|